In this step, you will make a mold out of aluminum that will be used to inject a 3-millimeter-thick plate with a recycled plastic.
Can be used to show off things or dry foods like nuts, but it shouldn’t be used for eating unless a coating or lacquer is put on it first. We will use an injection machine to make this plate, so we will need to make a mold for it.
It will be made up of these three parts: Both the base and the top were made of aluminum. Now we’ll talk about the piece made of steel that acts as a link.
The top and bottom parts of the connection will be CNC-milled from two blocks of aluminum, but we will make the part that connects them by hand.
Download the attached STEP file, and then use a CNC milling machine to turn it into two independent aluminum blocks that are the same size and have at least 26 centimeters on each side.

(It’s important to know that the basic Precious Plastic Injection machine only lets molds be up to 28 centimeters wide.)
The step file shows that six reference points need to be machined. Because of these features, it is easier to drill holes by hand into the right spots on the aluminum blocks.
If you don’t have a CNC milling machine, you can send the necessary files to a CNC cutting company to have them done (consider that this will be more expensive and will probably take longer).
After the mold has been cut, polishing it can help you make a better surface for your final product. You could polish the mold yourself or ask the company that does your CNC cutting to do it for you. At this point, the pieces of the mold need holes.
There are two different kinds of holes that need to be made. The total will be $6. (the injection hole will be added in a later step).
To start, we drill two holes halfway through each of the inner edges of the aluminum blocks so that we can put two metal dowel pins into those holes.
When you inject, these pegs will make sure that your mold is always perfectly straight. (look at the first picture) Drill the hole so that it is the right size for the dowel pin you have.
I used 6 meters for the width. Drill the holes so that they go halfway through on both sides.
The more often you open and close the mold, the easier it will be to do so. The mold needs a total of four holes so that bolts and nuts can be used to connect and close it.
Drill a hole in each of the aluminum blocks’ four corners to make a total of four holes. Use the pre-marked drill marks to make sure the mold is closed correctly.
Use a 13-millimeter bit to drill a hole in the middle of the bottom part of the mold. At this point, the plastic will come out of the injection machine and start to make its way through the mold. A mark for the center drill is also included in the STEP file.
To make the connection plate, we’ll need a 150-centimeter-by-150-centimeter-square steel sheet with a thickness of at least 0.5 centimeters, as well as a nozzle that works with your injection machine.
Mark the centers of the holes using the drawing as a guide, and then drill the holes. After that, move the nozzle so that it is directly over the 13mm hole, and then weld it to the plate.
Place it exactly in the middle. This will make it easier to screw the mold onto the injector and will also make it easier for the plastic to move through the channel.
This part must fit perfectly with the rest of the mold and the injection machine, so you should try to work as precisely as possible.
By sanding down the rough edges of the mold, users will find it easier to work with. This is because CNC-cut aluminum can have very sharp edges.
If you want to make it much easier to open and close the mold, I suggest putting a sloped edge on the bottom of it.
This will make it much easier for you to do so. It is very important to sand and polish the inside of the mold so that the final product has a smooth, shiny finish.
This will determine whether the final product is good or bad. Using a sandpaper-covered wooden block can help you sand more accurately.
Start with 120-mesh grains and increase the amount by a factor of 2. (120, 240, 440, etc., all the way to 2000). Use a cloth to get the aluminum dust out of your mold. Don’t try to blow it out of the mold. Doing so can hurt your lungs very much.
The last step is to use steel wool with a metal grain, then steel wool with a finer grain.

The last thing you need to do is polish your mold with another clean cloth and some polishing paste. Now that you’re done getting the mold ready, you can start putting all of the parts together.
First, you’ll need to connect the top and bottom pieces by using the dowel pins to help you line them up and the bolts and nuts to tighten them.
After that, you can join the upper and lower parts of the mold together with the connector plate. Now you are ready to move on.
You can use PP, HDPE, LDPE, or PS (you probably will have the most success with PP or LDPE). The most you can use with a standard injector is 150g.
Fill the injector with the material as much as it can hold, but don’t overfill it. If you do, the plastic could stick to the hopper or the outside of the injector.
Change the temperature so that the plastic you are working with melts at the right temperature. Set the lower heating element to a slightly higher temperature than the higher one to keep the plastic from getting hard.
When you raise and lower the injector lever, the material will be pushed further into the barrel.
After that, you should add more of the material and keep the handlebar down to keep pressure on the plastic. After applying heat for about 15 minutes, pull up on the handlebar and open the injector.
Remove the first drip of plastic that comes out of the barrel, which may still have some unmelted plastic in it, and then screw your mold right onto the injector.
During this part of the process, you should wear a face mask, an eye cover, and gloves that can handle high temperatures to protect yourself. First, take care of safety.
To get a single injection that doesn’t stop, inject your plastic by pulling it down with as much force as you can. You’ll have to keep up the pressure for a full minute.
Don’t push on the pieces in any way! If you aren’t sure if your strength and weight are enough to give the injection enough force, you could ask someone else for help.
Make sure the handlebar is lowered. To prevent any plastic from escaping, you need to quickly detach your mold from the injection barrel and then plug the connection point on the injector back up.
You may hasten the process of cooling by using water in several ways. After the mold has cooled, you may open it up by unscrewing the bolts that hold the two sides together.
To remove the plate through the nozzle connector on the top, you can use a pin and a hammer to do the job.
Use some sharp pliers to trim away any extra material that is located at the injection location. Sand down the sections that are uneven so that the finish is smooth.
Either a machine or your bare hands can accomplish this task. Your job is finished at this point.
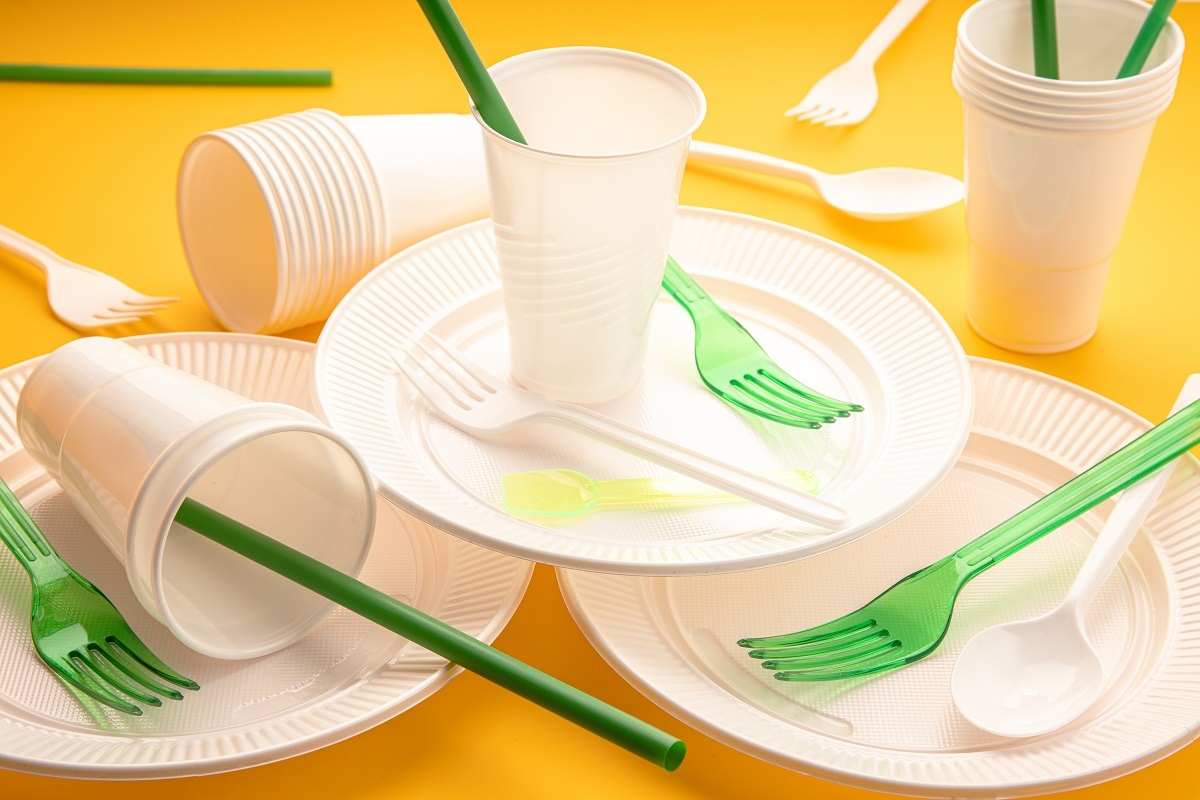
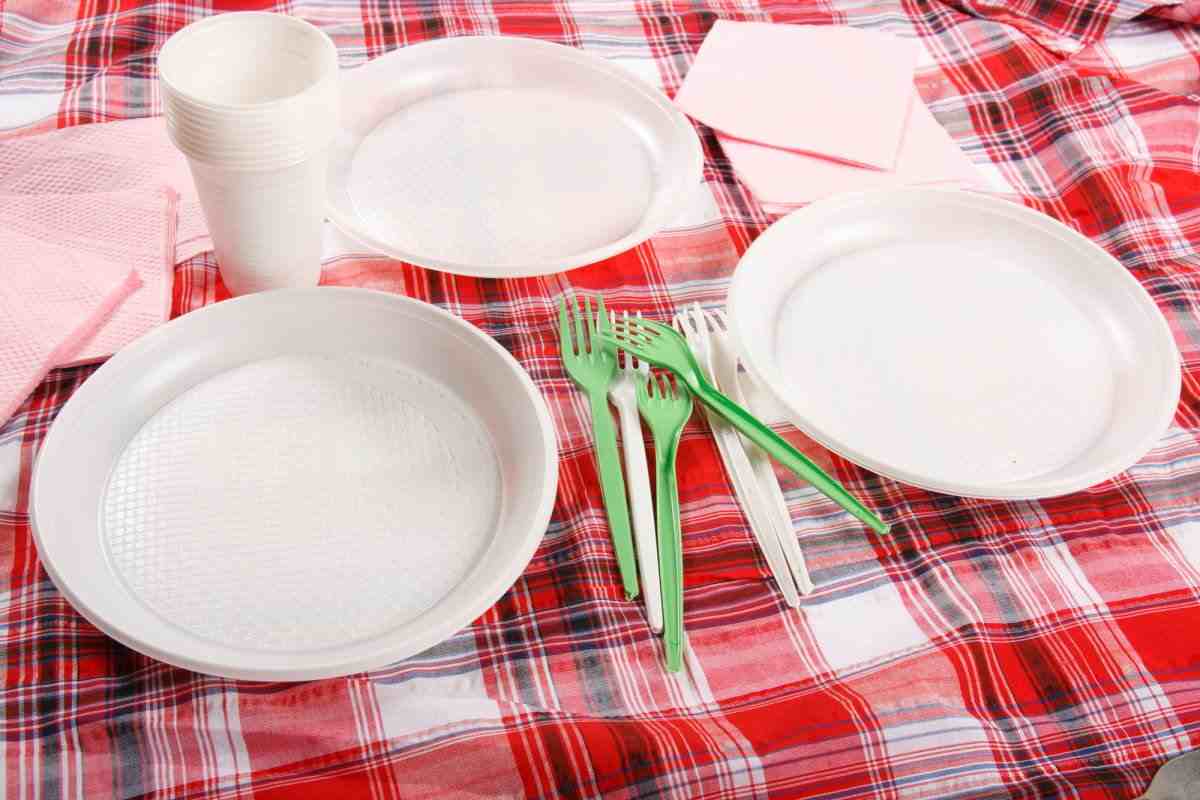
Plastic plates of the highest possible quality and the most competitive price are produced by our experienced team of manufacturers under the watchful eye of the production line.
Get in touch with our business to obtain the most recent version of the price list.